How to toggle between Before & After adjustments in Adobe Lightroom | Mac & Windows | Super Easy!
Very quick, very easy fix!
You went out and got a great shot, get home on the computer, import it to lightroom and start editing it! Love it! It's a great feeling, but another great feeling is seeing your before and after adjustments of your original image vs your edited. Are these changes helping or hurting your image? There are a few ways to do that in Lightroom, I'll go over my favorite two ways.
First, you need to be in the "Develop" tab in Adobe Lightroom CC.
1. Toggle between Edited & Original Image in Adobe Lightroom CC
Once you find your photo in your library, click the "Develop" tab and simply press "\" (the button below the delete key). That's it! If you have a lot of adjustments, you may need to wait a second before the changes appear.
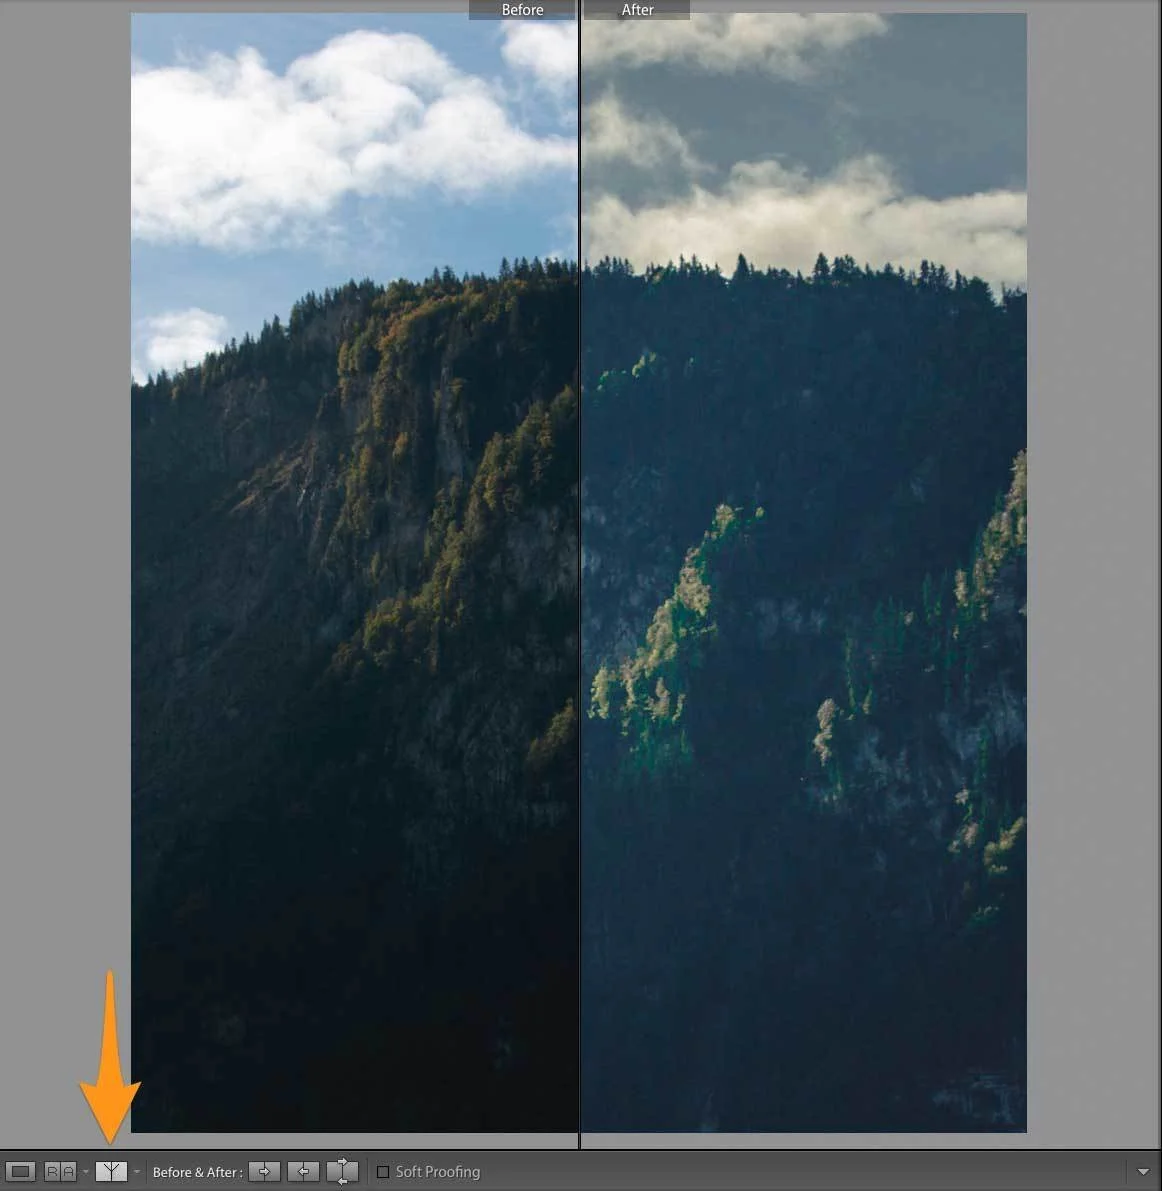
2. Split Screen Original and Modified Image in Adobe Lightroom CC
Once you have the photo in your Lightroom CC library, select it and choose the "Develop" tab, and press the "Y" key. You can change between vertical, horizontal, and before/after arrangements on the bottom